
Help center
How to use your MemoryVault Box
Everything from first power-on to transferring your photos, in plain language. Most people scan their first slide within 5 minutes of opening the box.
1. Set up in 4 steps
Unpack the kit
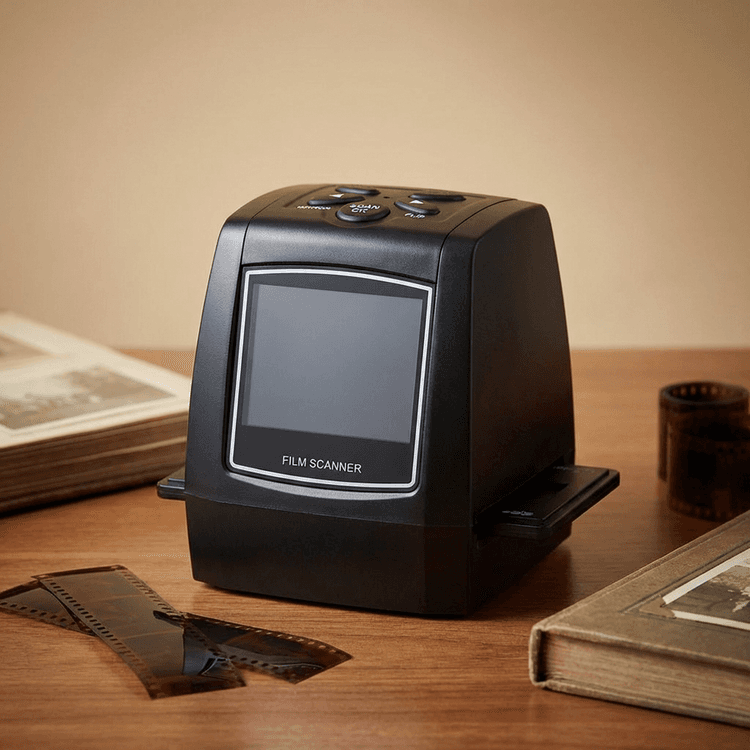
Inside the box: the scanner, a negative film holder, a positive slide holder, a USB cable, a TV cable, a cleaning brush, and the manual.
Insert an SD card
Push an SD card (up to 32GB) into the slot until it clicks. The scanner also has 128MB of internal memory, enough for about 25 test scans.
Power it on
Connect the USB cable to the wall adapter or any USB port for power, then press the power button on top. The screen lights up in about 2 seconds.
Pick your language
On first start, choose your language with the arrow buttons and confirm with OK. You are ready to scan.
2. Scanning negatives
- 1Open the negative holder (the one with the long channel) and lay a strip of up to 6 frames flat, shiny side up.
- 2Close the holder until it clicks, then slide it into the right side of the scanner.
- 3Push the holder gently until the first frame is centered on the screen. Colors are converted automatically, you see the real photo.
- 4Press the scan button once per frame. Each photo saves to the SD card in about 3 seconds.
- 5Slide the holder further to bring the next frame in, and repeat.
3. Scanning slides
- 1Open the slide holder (the one with 3 square windows) and place up to 3 mounted slides, image upright.
- 2Insert the holder into the right side of the scanner and push to center the first slide.
- 3Check the screen. If the image is mirrored or upside down, take the slide out and turn it, it takes 2 seconds.
- 4Press scan, then push the holder to the next slide and repeat.
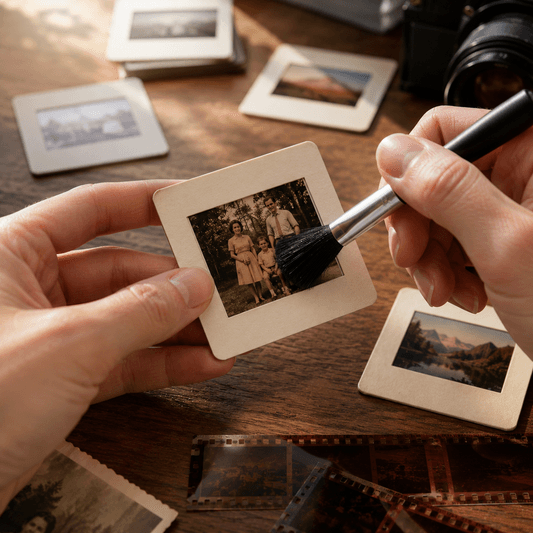
Tip: brush each batch of slides before scanning. Every speck of dust you remove is a white dot that never appears on the scan.
4. Getting the photos out
On the SD card
Every scan saves as a standard JPEG. Move the card to any computer, tablet, or print shop kiosk. A 16GB card holds about 5,000 photos.
By USB cable
Keep the card in the scanner, connect the included USB cable to a PC or Mac, and choose USB mode on the device. It shows up like a USB drive, no software required.
On the TV
Connect the included TV cable and run a slideshow of your scans on the big screen. The best way to show an evening of rediscovered photos to the whole family.
5. Troubleshooting
The screen stays black
Check the power connection first: the USB cable must sit firmly in both the scanner and the power source. Hold the power button for 3 seconds. If you power from a laptop, try a wall adapter instead, some laptop ports deliver too little current.
The scanned image is mirrored or upside down
The film was inserted flipped. Take the holder out, turn the strip or slide over, and scan again. You can also fix an existing scan on the device with the flip and mirror buttons before saving.
The SD card is not recognized
Use an SD or SDHC card of 32GB or less; larger SDXC cards are not supported. Format the card in the scanner via the menu (this erases the card). If it still fails, try another card, they do wear out.
Scans look too dark
Aged, dense film can scan dark. Use the brightness adjustment in the menu (EV setting) and rescan the frame. Backlight compensation recovers most shadow detail on old slides.
The memory is full
The internal 128MB fills after about 25 scans. Insert an SD card, or copy the internal photos to a computer with the USB cable and delete them from the device.
The photos will not show on my computer
Keep the SD card inside the scanner, connect the USB cable to the computer, and select USB mode on the device. It appears like a USB drive, on Windows and Mac, no software needed.
Still stuck
Write to us and a real person answers, usually within one business day. The product FAQ covers formats, resolution, and compatibility.