
Blog · July 15, 2026
How to convert slides to digital without a computer
Standalone film scanners save straight to an SD card, no software, no drivers, no computer. Here is how that workflow goes.
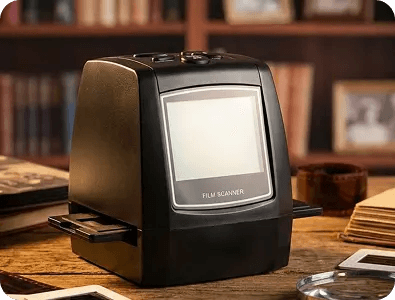
The single biggest obstacle between families and their film archive is the assumption that scanning requires a computer, software, and technical patience. It does not.
How standalone scanners work
A standalone scanner has its own light source, its own sensor, its own screen, and its own storage. You insert film, press one button, and the digital photo saves to an SD card. There is no driver to install and no application to learn.
The MemoryVault Box works this way: a 2.4 inch screen shows each scan the moment it is taken, a 5MP sensor writes a JPEG of 2592 x 1944 pixels to the card, and the whole flow is insert, press, next.
Where the photos end up
The SD card is the bridge. Once the scanning session is done you have choices:
- Plug the card into a TV to run a slideshow at a family dinner
- Hand it to the family member who handles computers
- Use the included USB cable, the scanner shows up like a USB drive
- Take the card to a print shop for physical copies
Who this suits
Anyone who wants results without a learning curve: grandparents digitizing their own archive, and adult children who want to hand their parents a project that actually gets finished. The pace is gentle, about 3 seconds per photo, and it can be done in front of the television.
Ready to scan your own archive
The MemoryVault Box digitizes 35mm negatives and slides in 3 seconds per photo, no computer needed, with a 90-day money back guarantee.
Get the Box, from $149.99