
Blog · August 20, 2026
How to digitize 35mm slides at home
A practical walkthrough for converting mounted 35mm slides into digital photos at home, with no computer and no mail-in service.
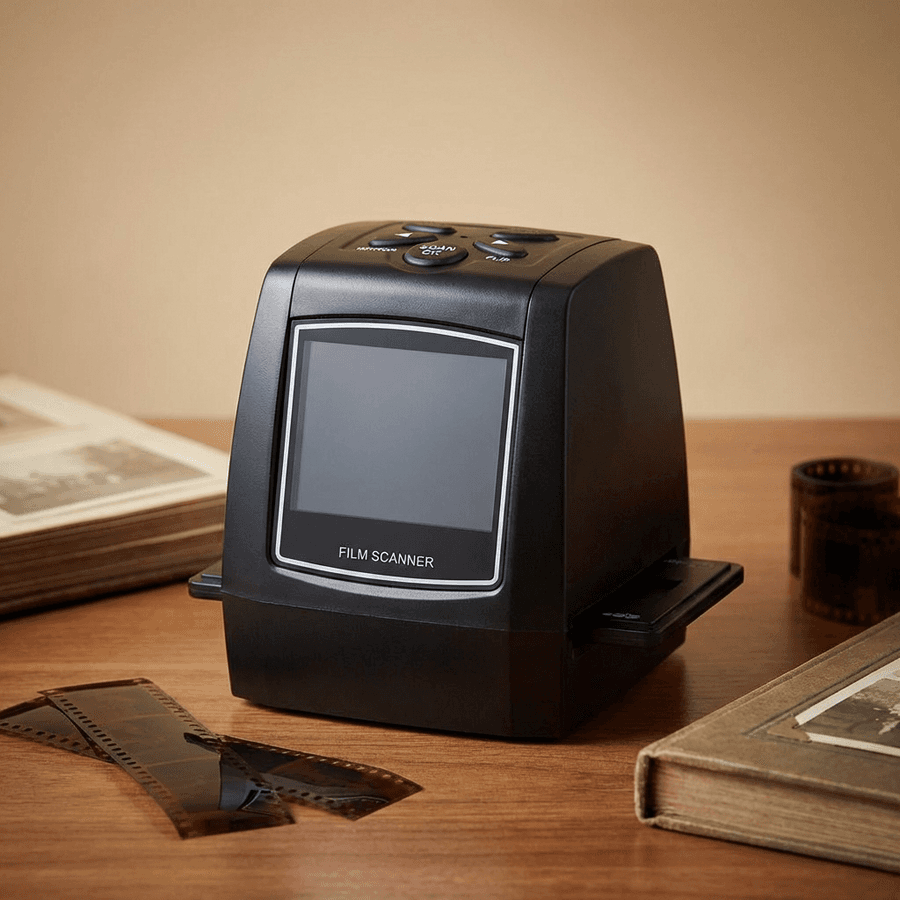
Most families own a box of mounted slides and no projector to view them. Digitizing them at home is simpler than it sounds, and it keeps your originals with you the whole time.
What you need
- Your slides, ideally dusted with a soft brush
- A standalone film scanner with a slide holder
- An SD card for storage
- One free afternoon per few hundred slides
The process, step by step
Start by grouping slides by decade or event. You do not need perfect order, rough piles are enough, and sorting goes faster while you scan.
Load 3 to 4 slides into the slide holder, insert it from the side of the scanner, and press scan on each frame. With a standalone scanner like the MemoryVault Box the photo appears on the built-in screen in about 3 seconds and saves to the SD card as a JPEG.
Every 50 slides or so, take a minute to review the screen. Aged slides sometimes sit upside down or mirrored in their mounts, and flipping them takes seconds at the machine.
How long it takes
At 3 seconds per scan plus handling, most people digitize 50 to 100 slides per hour at the kitchen table. A typical family collection of 1,000 slides is 2 to 3 relaxed weekends.
After the scan
Copy the SD card to a computer or phone, make one backup copy, and share an album with the family. The originals go back in their box, safe and untouched.
Ready to scan your own archive
The MemoryVault Box digitizes 35mm negatives and slides in 3 seconds per photo, no computer needed, with a 90-day money back guarantee.
Get the Box, from $149.99